It tells how small components can remain fixed,
electricity travels in the right direction, and devices do what their purpose is. You can go as far as learning how to solder very fragile chips to the board,
the ability to use the Soldering PCB Board method will be at your beck and call,
and can be applied to any number of ways for electronic design and repair.
Have you ever glanced at a circuit board and asked yourself how all those parts are assembled so tightly? The answer to this is the art of the Circuit Board Solder work.
If you want to know more about it, then continue reading the blog. This will ensure that you have the best experience with soldering circuit boards.
Is Soldering Circuit Boards Hard?
To a beginner, soldering can be complex. The idea of having to deal with a hot soldering iron, small components, and fine copper tracks may be daunting.
However, in the real world, soldering components on PCB is something that can be studied and still be able to gain mastery of the skill with patience and practice.
Several factors affect how easy or hard the process feels: 1. Skill Level:
You should feel comfortable with your first several attempts using a soldering iron, especially when you are new to it.
The trick of heating the joint, spreading a sufficient amount of solder, and not committing a plethora of obvious finishes,
such as cold joints or bridges, is acquired in time. The good news? With some smart training, you will feel more confident about installing Circuit Board Solder, and it will become much smoother.
2. Component Size:
More recently, the use of through-hole devices such as resistors and capacitors has become simpler and more accessible to novices.
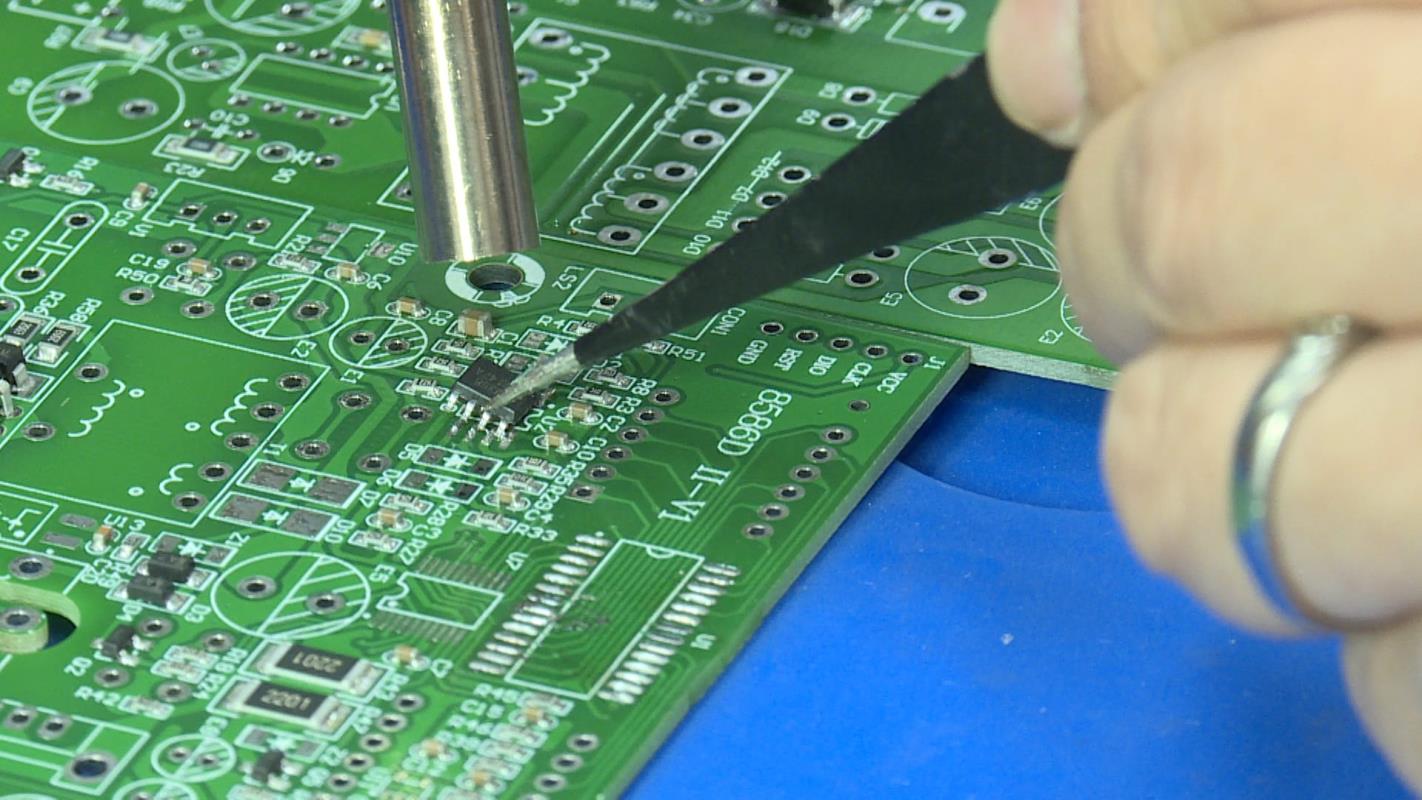
However, in the case of SMDs surface mount devices), this may be difficult due to the fact that of small size coupled with.
These need to be held by stabilized hands and carefully placed at the tip. Whether you’re working with large PCB to Wire Connectors or tiny IC pins, precision is key.
3. Board Complexity:
A simple soldering Pcb Board project with a few components is a lot easier as compared to a thick, multi-layer PCB board with hundreds of pieces.
More complicated boards require more technique, neat soldering, and in some cases, special tools.
4. Soldering Equipment:
Your equipment matters a great deal to your results.
Key aspects that will facilitate the assembly of electronic components on PCBs include a high-quality soldering station capable of temperature adjustment and interchangeable tips.
Combine that with the Best Solder for PCB boards, and you’ll notice a significant difference in how easily joints form.
5. Practice and Patience:
As is the case with any skills, which are primarily hands-on, the more you practice them, the better you are. Rely on the piece of junk boards before trying out the serious work.
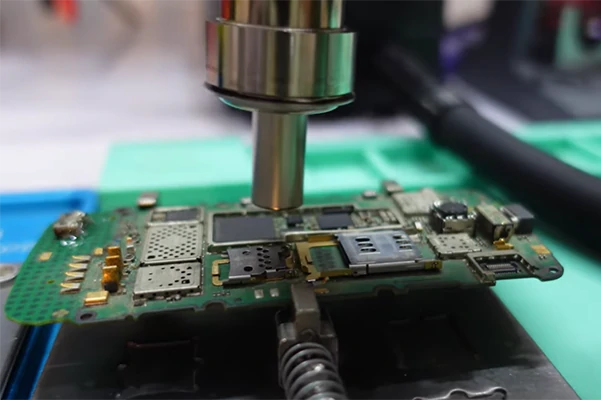
How To Use a Soldering Station on a Circuit Board?
Yes, and in fact, most professionals recommend it. A soldering station is far superior to a basic soldering iron for Soldering PCB board projects. Here’s why:
- Temperature Control: You can adjust to a temperature that is fit for your particular task. Appropriate temperature settings can avoid tempering of components and guarantee the ease of circuit board solder
- Stability: Soldering station has a stable heat source that cannot fluctuate, making it very important when working on delicate components.
- Interchangeable Tips: The tip may be changed to suit SMD work, or a larger tip when dealing with jobs such as soldering a PCB to Wire Connectors.
- Extra Features: Your soldering process will be more precise and effective with analog and programmable modes, digital displays, and presets.
Step-by-Step Guide to Soldering Circuit Boards
If you’re ready to learn Soldering Components on PCB, here’s a clear, beginner-friendly process:
Step 1: Prepare Your Workspace and Tools
Select a clean, lighted place. You would also require a soldering iron or station, best solder for Pcb Boards,
flux, desoldering tools, tweezers, a magnifying glass, and safety equipment (glasses and insulating gloves to stay protected from heat).
Step 2: Understand the Components and PCB
Test the layout of your circuit board and determine where all the parts are placed. Examine polarity signs and pointers.
If your project needs the PCB to Wire Connectors, be sure you know where each one goes.
Step 3: Heat the Soldering Iron
Set up your soldering station to the appropriate temperature to use with the Best Solder for PCB Boards, usually between 320°C and 370°C for leaded solder..
Step 4: Apply Flux to the Pads
Flux improves the flow of the solder and prevents oxidation. A thin coat will suffice; an excessive amount may lead to a sticky mess as well as possible bridges between pads.
Step 5: Tip the Tip
Wipe the tip of your iron with a wet sponge (or brass cleaner) and then apply a little solder.
This provides improved heat loss during the process of soldering components on the PCB.
Step 6: Position the Component
Stick the component so that the leads fit appropriately on the solder pads. When it is a PCB to Wire Connector,
make sure that it is flush with the board so that the mechanical support is strong.
Step 7: Heat the Pad and Lead
The pad and component lead are touched in the same context, which is then used to touch the tip of the soldering iron.
This heats them evenly for good solder flow.
Step 8: Apply the Solder
Do not add the solder wire to the joint; instead, place it on the iron.
Heat the pad and lead should soften it, and a smooth, shiny wire joint should result: the Circuit Board Solder.
Step 9: Let It Cool
Keep all the stationery until such time when the solder hardens. If it is moved prematurely, then a cold joint may appear.
Step 10: Inspect and Clean
Look at the shiny, sunken joints with no overabundance of solder. Clean up any remaining flux with isopropyl alcohol,
and your soldering PCB board may look a little bit more professional.
Choosing the Best Solder for PCB Boards
The Best Solder for Pcb Boards is relative to your demands. Newcomers find leaded solder (like 60/40 tin-lead) simpler to work with as it melts at a lower temperature,
and it flows easily. Lead-free solder is greener and requires a slightly higher temperature. Always choose high-quality solder with a rosin core for reliable soldering components on PCBs.
In Conclusion
When one knows how to solder, it opens the doorway into electronics. The ability to solder components on a PCB can work wonders, ranging from creating DIY projects to fixing gadgets.
Begin your practice with the simplest tasks, such as the attachment of materials like the PCB to Wire Connectors, and move on to building complex Soldering PCB board kits.
Apply quality tools, work slowly and carefully, and always select the best solder for any PCB board.
You will soon find it easy to make the ideal Circuit Board Solder joints. And after you master it, you will be capable of launching your electronic whims into reality one solder joint at a time.